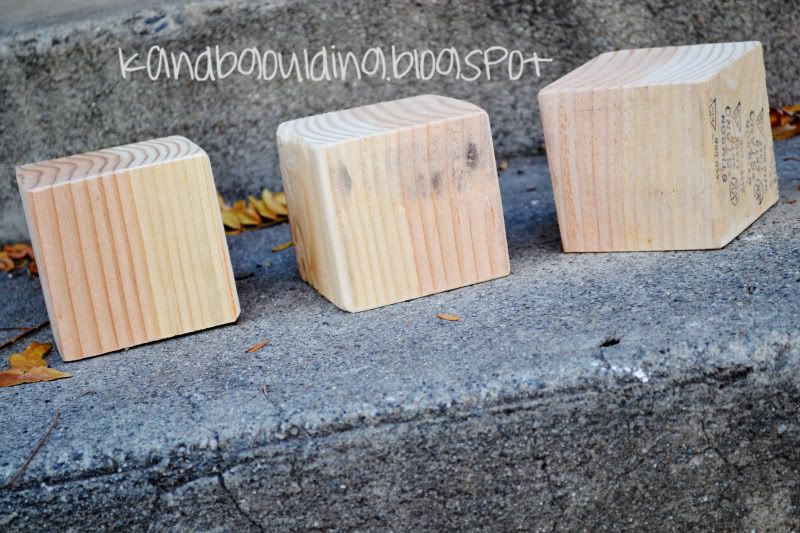
Did you know that Home Depot sells their scrap wood for 51 cents? What a stinkin deal. And since I work at the big orange box I come across these deals pretty frequently. Like these blocks! They were selling 3 for 51 cents and scooped them up as soon as I saw them.
This project is easy peasy. All you need is:
- 4x4 blocks
- Scrapbook Paper
- Mod Podge
- Red paint (I used spray paint I got at walmart for 97 cents)
- Cut out vinyl
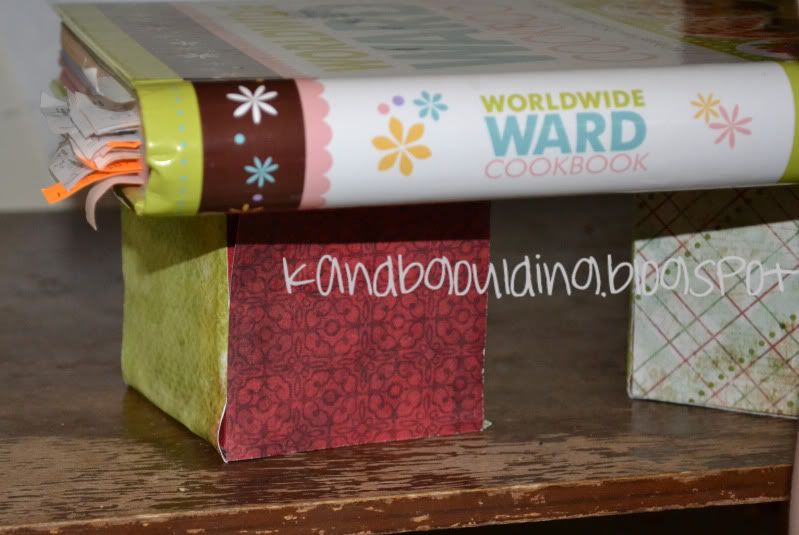
- A book
- Antiquing spray/ink pad
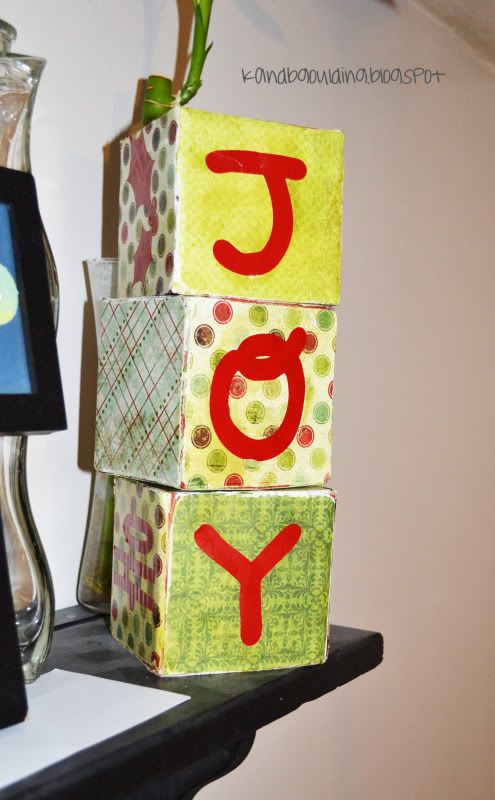
If you dont have access to vinyl (I use my cricut) you can print out your letters onto the scrapbook paper and cut them out. I used to All Mixed Up cartridge for the "JOY" and the Jubilee cartridge for "Ho Ho Ho".
First, sand down the corners of your blocks. This will help take off the rougher edges on the corners.
Next you're going to paint the blocks red (or whatever color you decide).
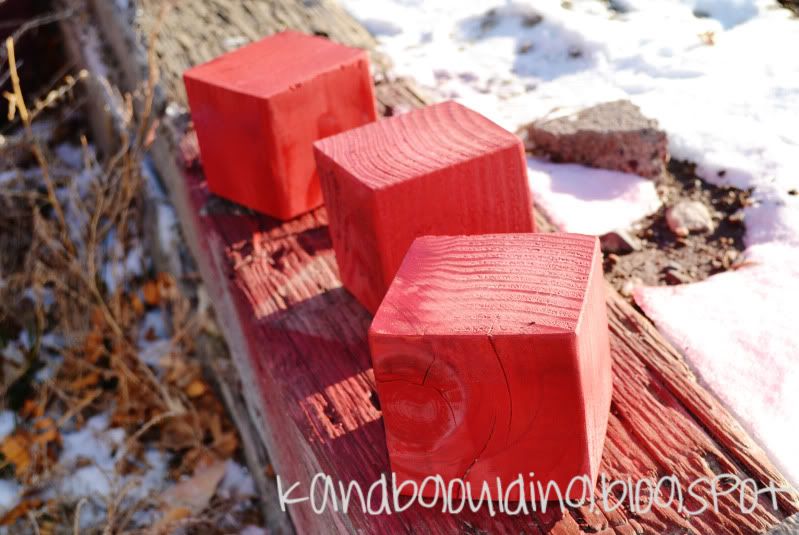
Don't tell my dad I used his garden to spray my blocks. Notice how the bottom is red too? LOL
If you're not going to use vinyl, print out your sayings before cutting out the paper! :)
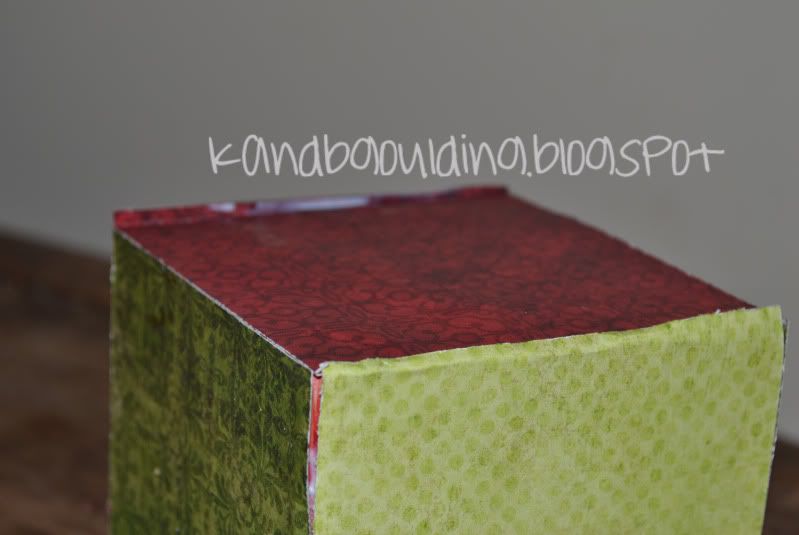
The next step is cut out your paper. I found christmas paper at Roberts for 99 cents (you can obviously get them cheaper with a coupon, and their paper is on sale right now!) It's double sided so I only had to use 3 sheets.
Next is the mod podge! I use a small sponge paint brush to dap onto the block. This is where the book comes in handy. I did 2 sides, then set the book on top to put weight on them since the paper was curling.
Notice the bubbling at the bottom? My paper was a titch bigger then the blocks so my bubbling got bad!
After you've finished gluing on all your paper let it dry. If it looks funny, dont worry! We'll fix that in the next step.
See how my paper is too big?
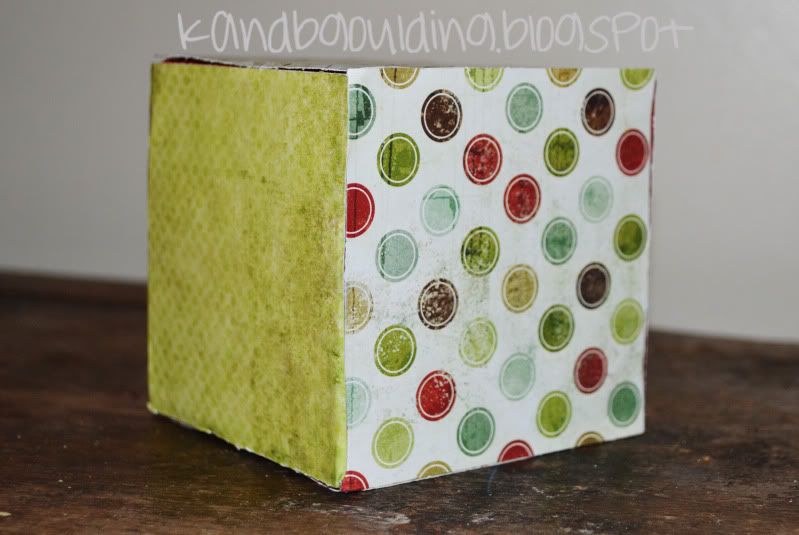
Once it dries we are going to sand all the edges again. This will take off the excess paper and give it a nicer finish.
Now to add the vinyl. I think this is self explanitory. You can really add whatever you want. You don't need to do "Ho Ho Ho" or "JOY". Those were the only ones I could think of! I did have some christmasey cut outs on my Doodlecharms cartridge, but I figured I wasn't going to turn them often enough to put more then 2 saying on them!
When you finished this step, seal your paper with another layer of mod podge. It will look white, but it dries clear, dont worry. I also used a Walnut Antiquing Spray to give it a vintage finish. You can use an ink pad as well around the edges if you'd like. You don't need to do that step if you don't want to!
And you're done! See? Easy peasy!

I love them. They're cheap, easy, and cute.
This is where I put them in our room (since we live with my parents it's hard to have lots of decor!)

Stay tuned and I'll show you what I did to add some christmas cheer to my stars!


