Do you know whats better then doing a crafting project? Doing an easy crafting project with stuff you already have lying around!
I got this box of frames off Freecycle a couple of months ago. I know, score right? But I haven't done a thing with them since. I am lame...
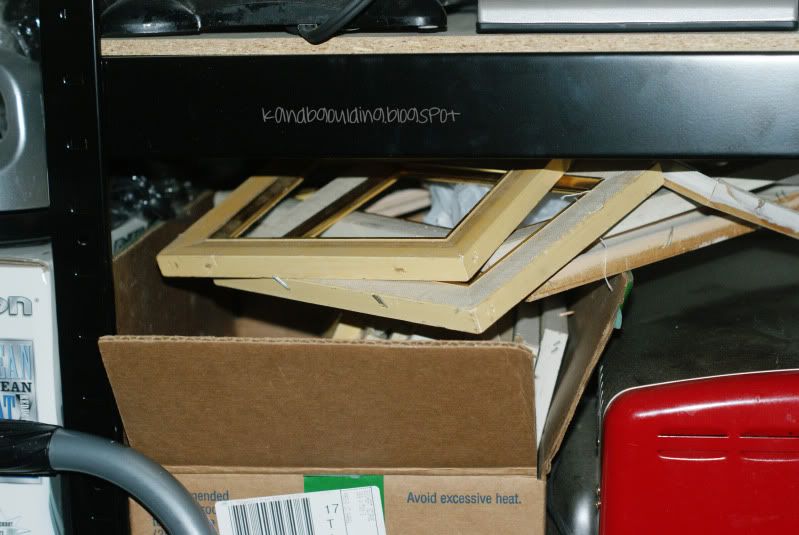
My husband thinks they're just taking up room but wont he be surprised when he comes home from work and discovers I actually did something with them. Or at least one of them!
I got the cute printable for the 9 Be's HERE. It makes an 8x10 sized printable.
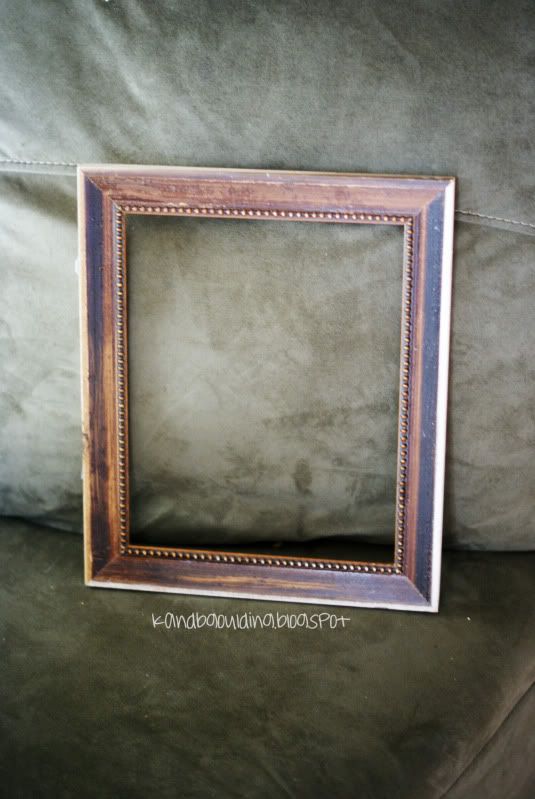
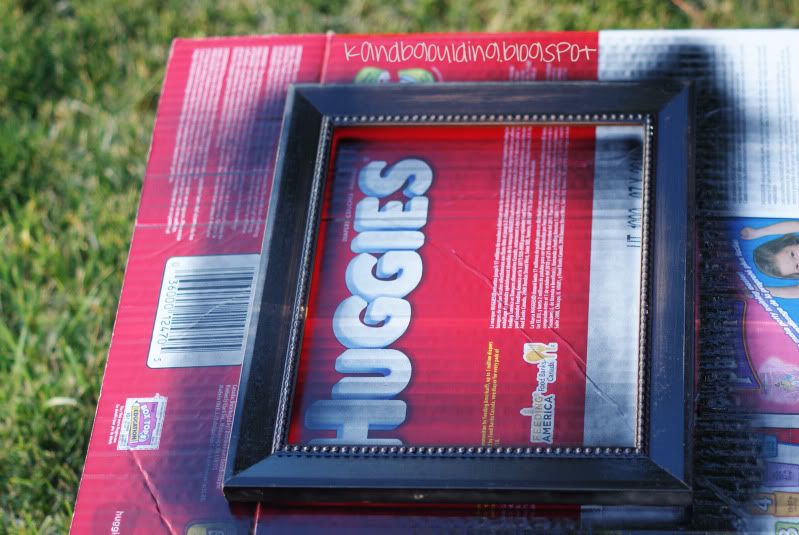
That frame looks cuter then it actually was that color. When I spray painted it black, the brown was still showing through, giving it an antiqued looked that I liked.
I just glued it on, didn't do a backing {which I would suggest you do} So it's kinda free floating in the frame.
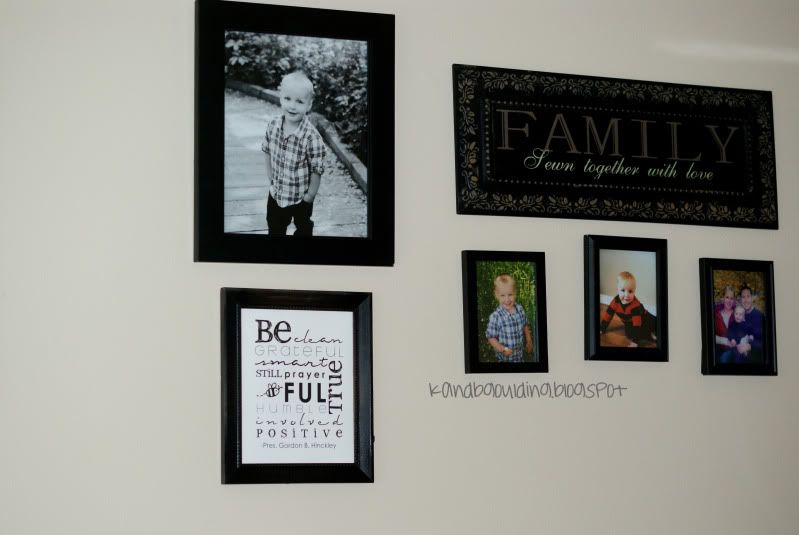
Done and done! Easy Peasy
I saw this idea in a DIY magazine and I've seen it floating around blogland too. I finally just sat down and did it and it took a whole 5 minutes. I was kind of put of at first by how big I made the letters but Its growing on me!
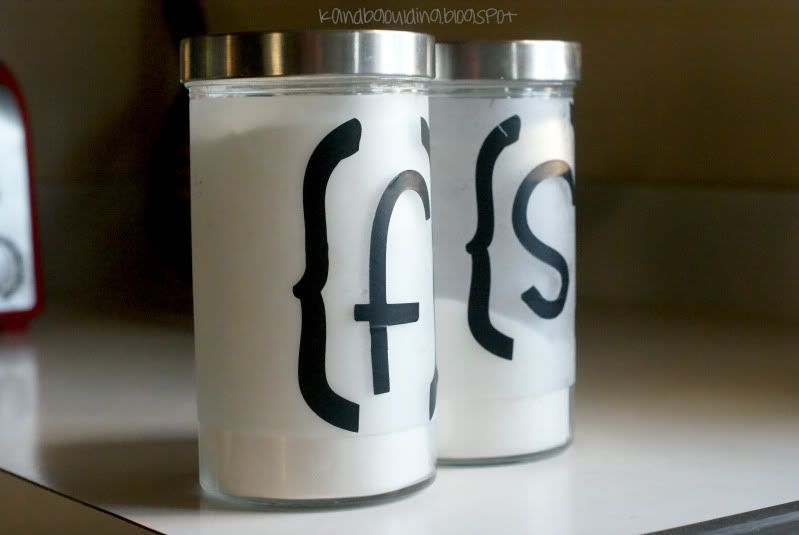
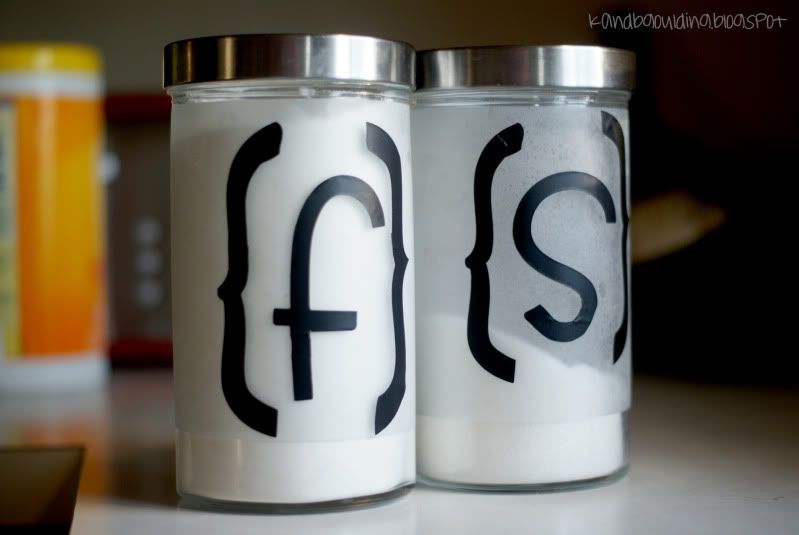
Super easy!
Thursday, July 21, 2011
2 new projects
Posted by Kelden at 8:34 PM 1 comments
Labels: crafts, decor, easy, home decor
Sunday, July 17, 2011
Crafting Projects
We have officially been in our home for 2 months now. What a crazy experience it has been! Now that I've finally taken time to sit down and upload pictures, here are some projects I've worked on in the last little while.
Flag Blocks
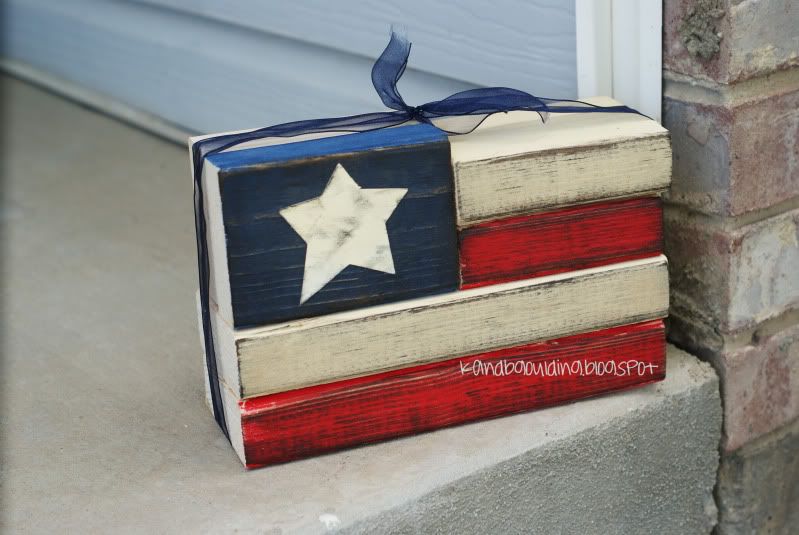
You can find the tutorial for these HERE . This is one of my favorite blogs!
Cherry Tone Firecrackers
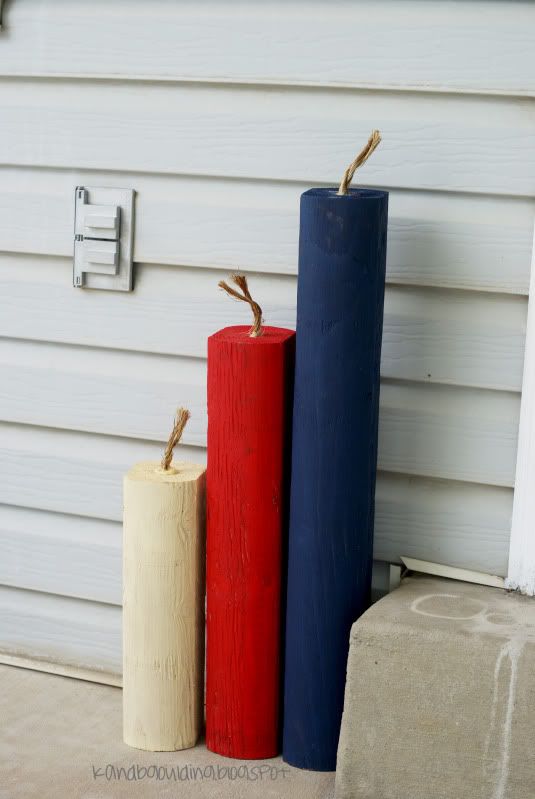
I saw these at Quilted Bear for 20 bucks! Can you believe a cherry tone timber is only 1.97 at Home Depot? So I made my own and they turned out way cute! You can also make pumpkins for Halloween with them.
Bamboo Candlesticks
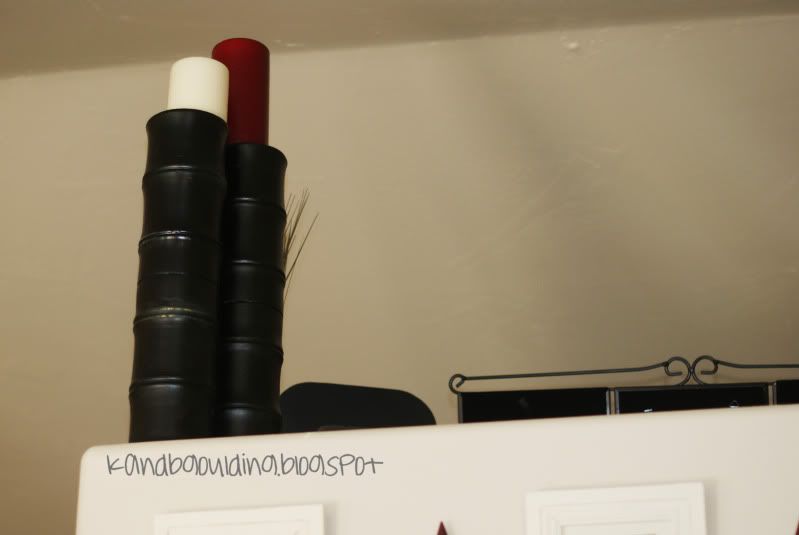
I found these bamboo candlesticks at Tai Pan for 2.25 each. They were originally green, and there were 4 of them. I glued them together and made these two big ones instead. I spray painted them black and tada! I like how they turned out.
Painted Letter
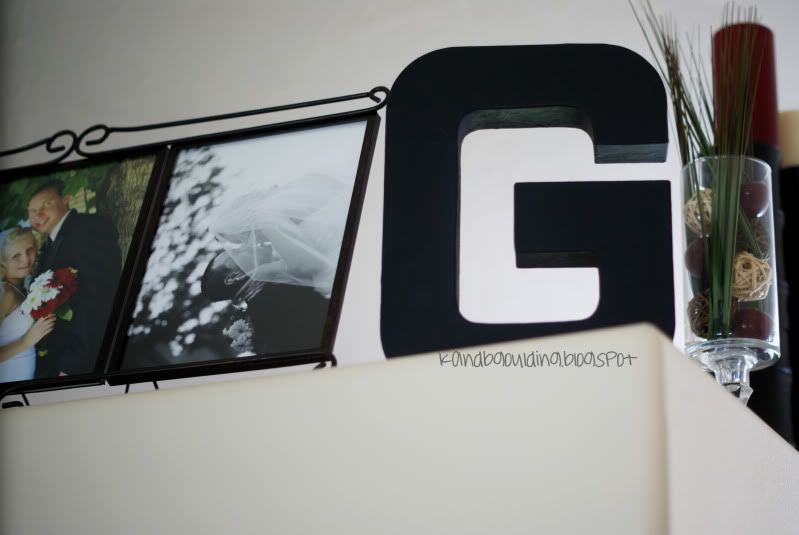
This "G" is from JoAnns, Painted black with craft paint. I think it will eventually go on a shelf when we hang one.
Hurricane vase
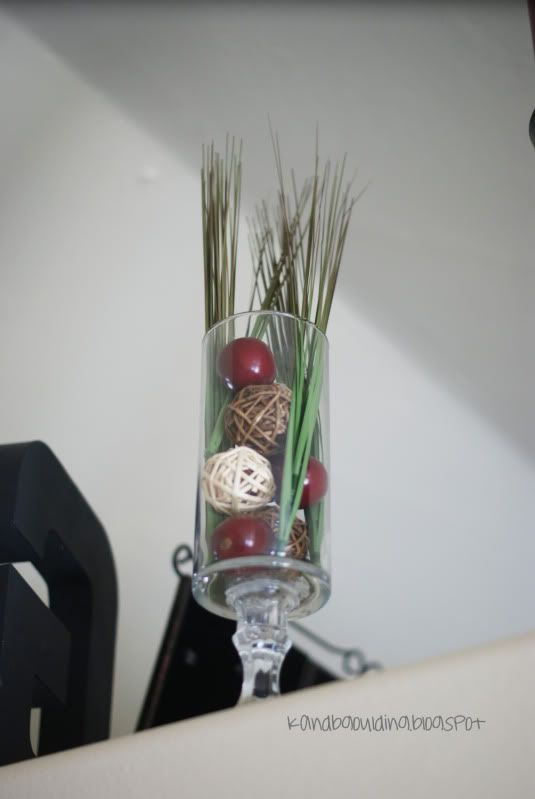
I already have the tutorial for this on my blog. I got the twine balls at Walmart. The apples and grass came from the dollar store.
Refinished Table

This was one of the first projects I did in our new house. It has been one of the hardest by far as well! Notice how the chairs don't match? That's because they suck. We are in the process of finding new ones, but haven't come across some we love (for a decent price). We got the table and 3 chairs on KSL for 30 bucks. Not bad. I do have before and afters for this project that I may post eventually!
So that's what I've been up to!
Posted by Kelden at 11:21 AM 1 comments
Labels: decor, easy, home decor
Saturday, April 9, 2011
Hurricane Vases
My comma button is broken so bare with my puncuation mistakes!
I cant believe its almost been a month since Ive posted! With Boden's grandpa's funeral and house hunting. Dont forget the hours of Tangeled we've watched; its just been so hectic around here! But in honor of finding a house we liked; I made these vases that ive been planning on doing for awhile now. I finally found candlestick holders at the dollar store; which was perfect for this. In her tutorial which you can find HERE she has all different sizes of vases and candlesticks and you'll be able to see what she used them for.
Make sure you let them dry completely! I had them in my hand by the candlestick holder and the top flew off!
I got both the vases and holders at Dollar Tree which makes them 2 dollars each!
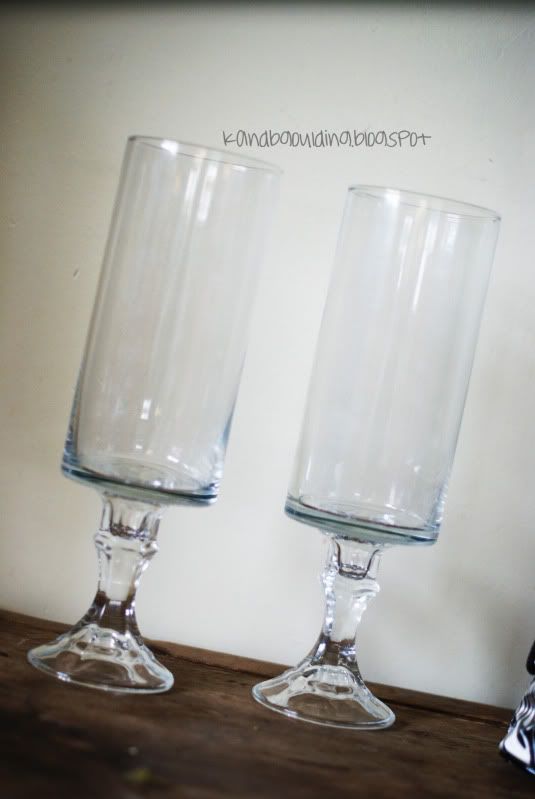
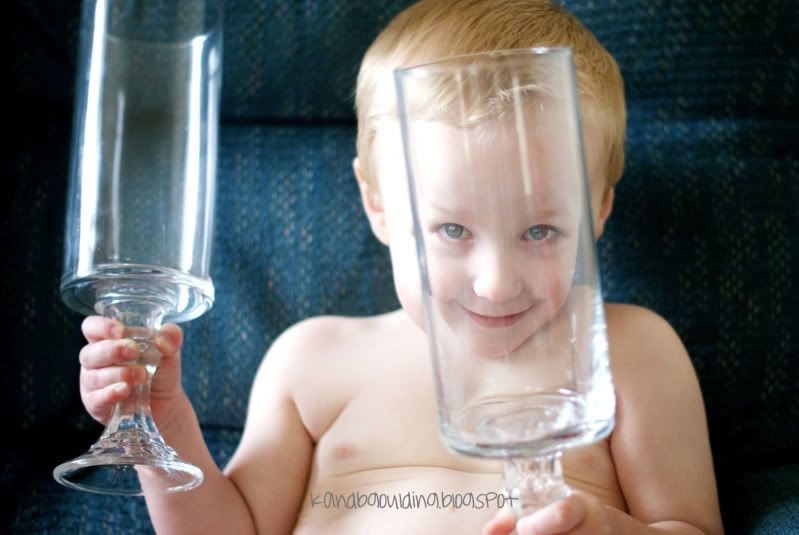
Of course my silly son thinks theyre toys!

Posted by Kelden at 11:05 AM 2 comments
Labels: crafts, decor, easy, home decor
Monday, November 29, 2010
Spruce up your metal stars
As I was looking at my cricut cartridges, I notice that most have tags you can cut out. I plan to make tags for christmas (PLAN to! make that note.) I decided to try it out first and see how I liked it. Then I came up with this brilliant idea. I was going to put the tags on my stars since I didn't want to repaint them.
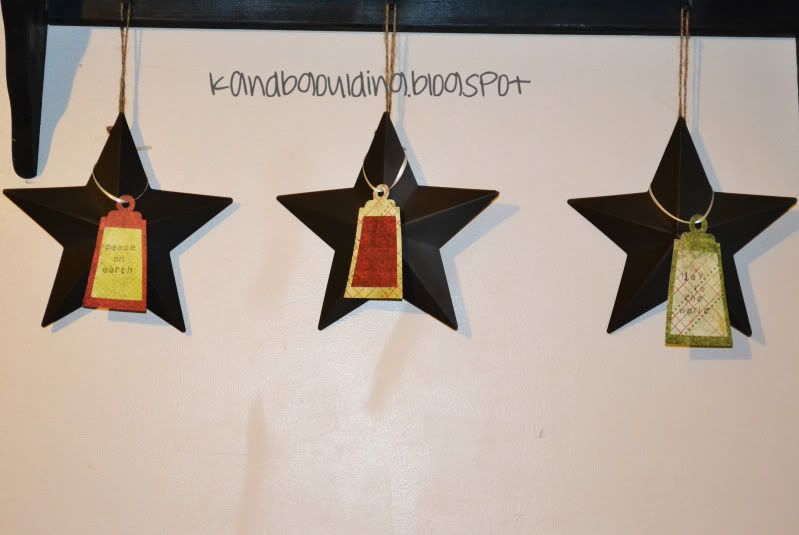
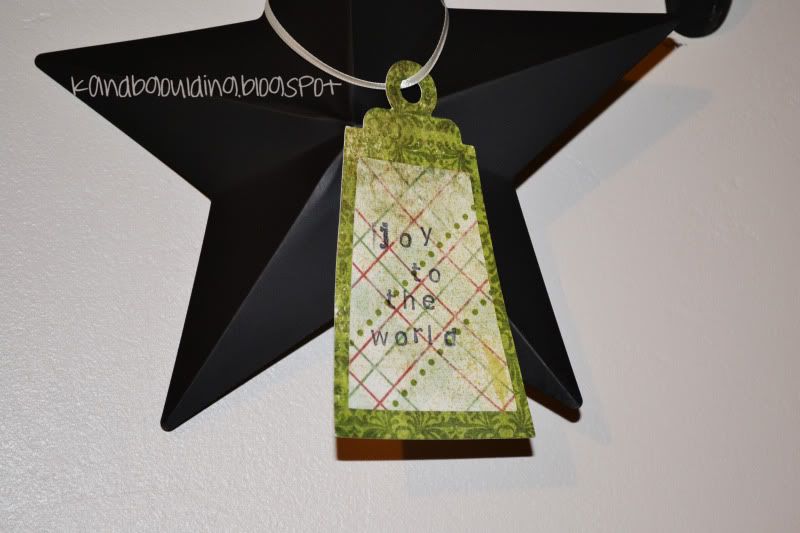
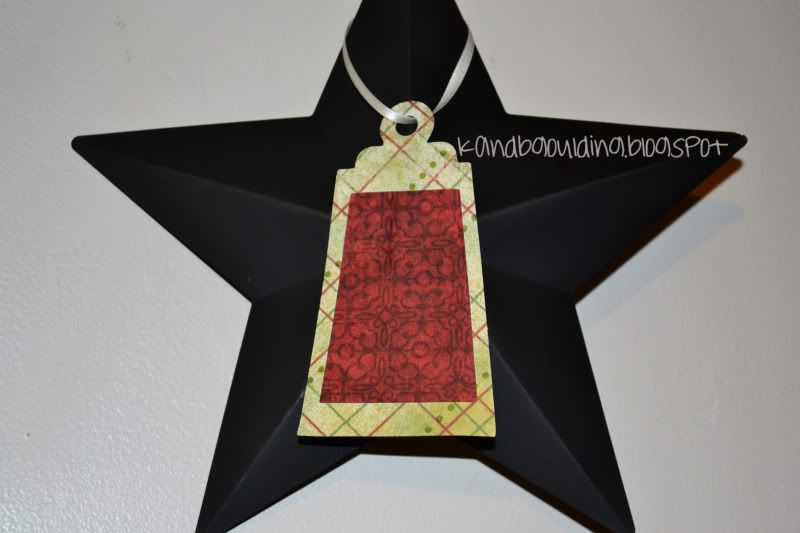
All I did was cut out 4 inch tags with my Jubilee cartridge. I cut out another 3 1/2 inch tag and cut the top off to glue in the middle.
I had bought this little alphabet stamp set for a dollar at Roberts the other day. I used a black ink pad and stamped what I wanted onto the tag itself. The red one doesnt have any sayings since it was too dark for the ink LOL
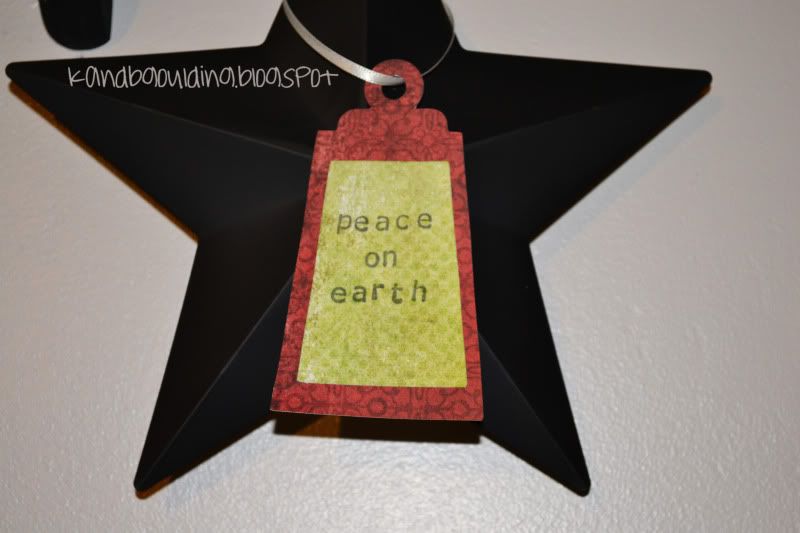
Easy and cheap!
Posted by Kelden at 8:00 PM 1 comments
Labels: crafts, decor, home decor, metal star
Sunday, November 28, 2010
Christmas Blocks!
Did you know that Home Depot sells their scrap wood for 51 cents? What a stinkin deal. And since I work at the big orange box I come across these deals pretty frequently. Like these blocks! They were selling 3 for 51 cents and scooped them up as soon as I saw them.
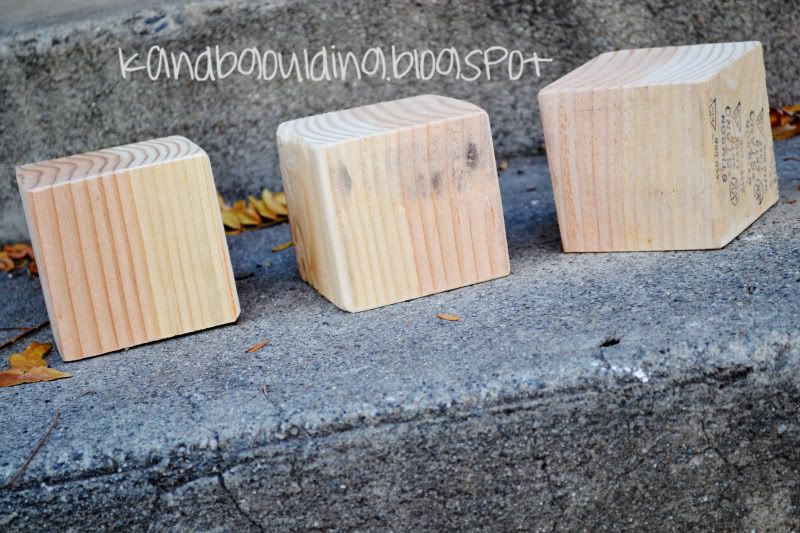
This project is easy peasy. All you need is:
- 4x4 blocks
- Scrapbook Paper
- Mod Podge
- Red paint (I used spray paint I got at walmart for 97 cents)
- Cut out vinyl
- A book
- Antiquing spray/ink pad
First, sand down the corners of your blocks. This will help take off the rougher edges on the corners.
Next you're going to paint the blocks red (or whatever color you decide).
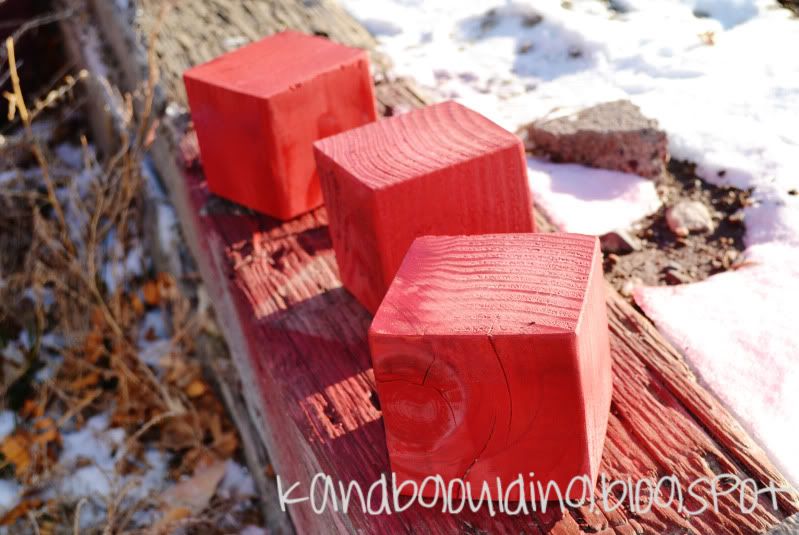
Don't tell my dad I used his garden to spray my blocks. Notice how the bottom is red too? LOL
If you're not going to use vinyl, print out your sayings before cutting out the paper! :)
The next step is cut out your paper. I found christmas paper at Roberts for 99 cents (you can obviously get them cheaper with a coupon, and their paper is on sale right now!) It's double sided so I only had to use 3 sheets.
Next is the mod podge! I use a small sponge paint brush to dap onto the block. This is where the book comes in handy. I did 2 sides, then set the book on top to put weight on them since the paper was curling.
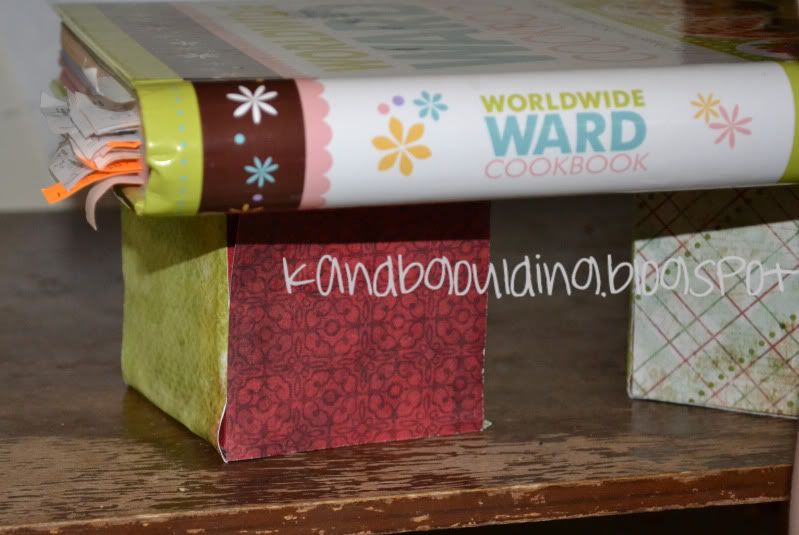
Notice the bubbling at the bottom? My paper was a titch bigger then the blocks so my bubbling got bad!
After you've finished gluing on all your paper let it dry. If it looks funny, dont worry! We'll fix that in the next step.
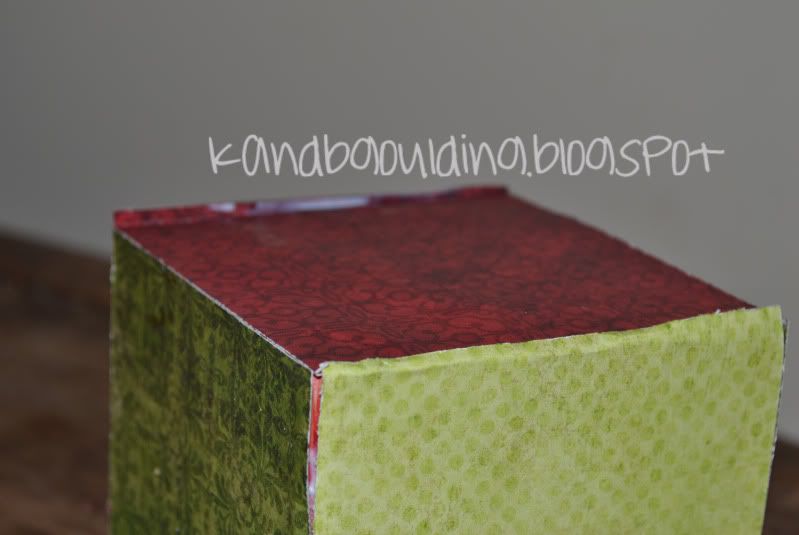
See how my paper is too big?
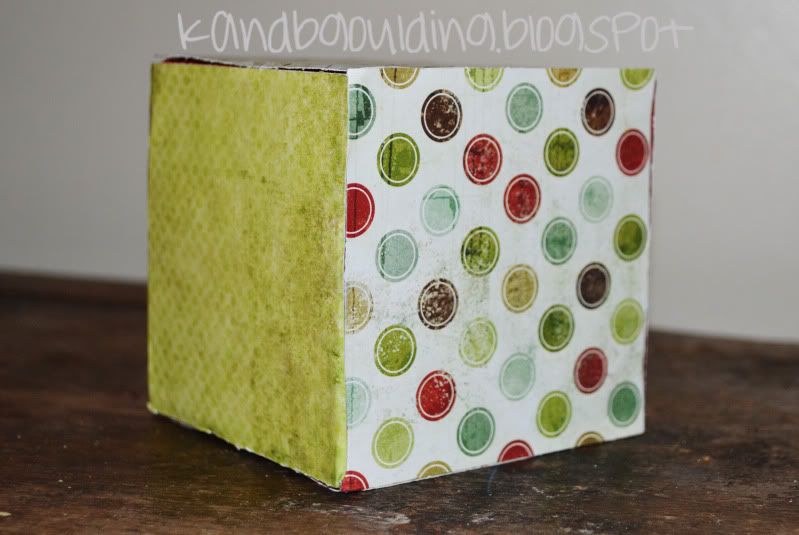
Once it dries we are going to sand all the edges again. This will take off the excess paper and give it a nicer finish.
Now to add the vinyl. I think this is self explanitory. You can really add whatever you want. You don't need to do "Ho Ho Ho" or "JOY". Those were the only ones I could think of! I did have some christmasey cut outs on my Doodlecharms cartridge, but I figured I wasn't going to turn them often enough to put more then 2 saying on them!
When you finished this step, seal your paper with another layer of mod podge. It will look white, but it dries clear, dont worry. I also used a Walnut Antiquing Spray to give it a vintage finish. You can use an ink pad as well around the edges if you'd like. You don't need to do that step if you don't want to!
And you're done! See? Easy peasy!
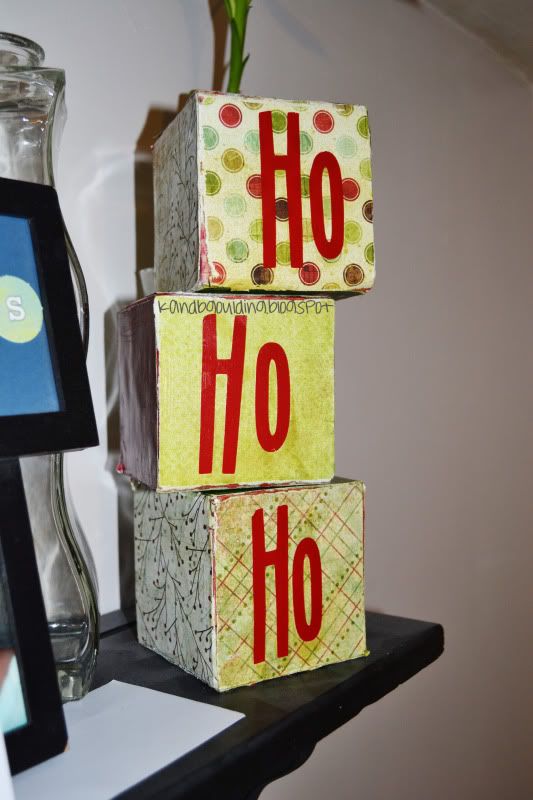
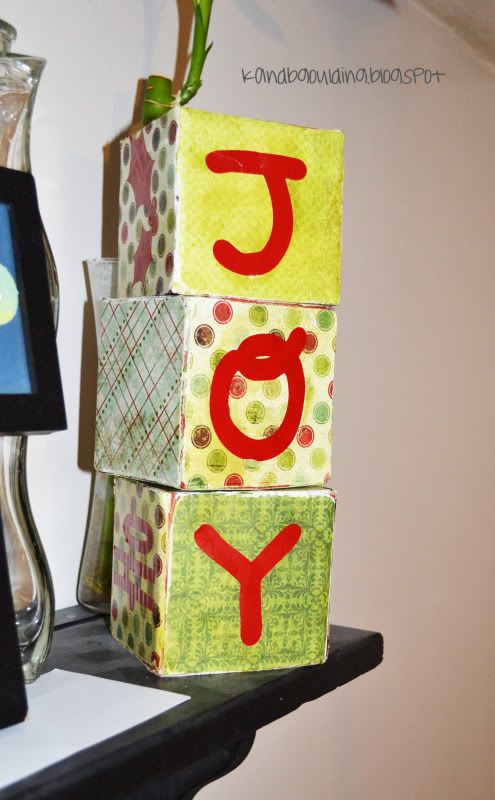
I love them. They're cheap, easy, and cute.
This is where I put them in our room (since we live with my parents it's hard to have lots of decor!)
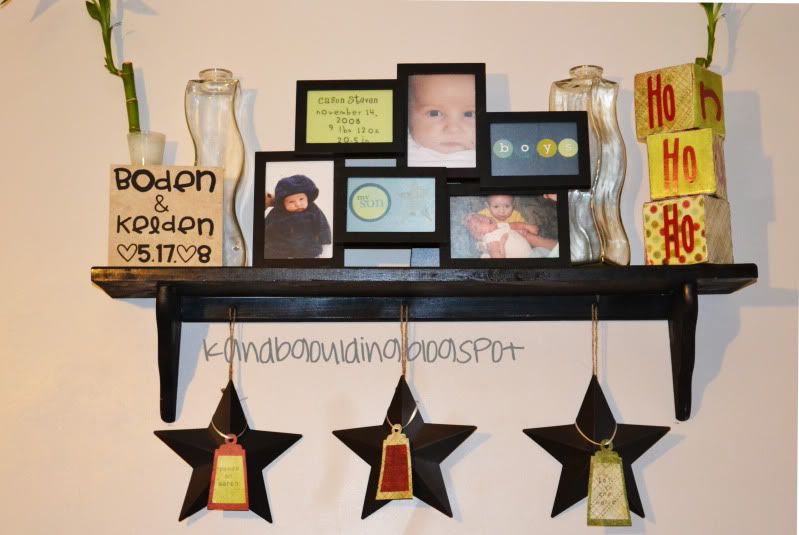
Stay tuned and I'll show you what I did to add some christmas cheer to my stars!
Posted by Kelden at 8:00 AM 2 comments
Labels: christmas, crafts, decor, home decor, metal star, mod podge
Saturday, November 27, 2010
What I've been up to
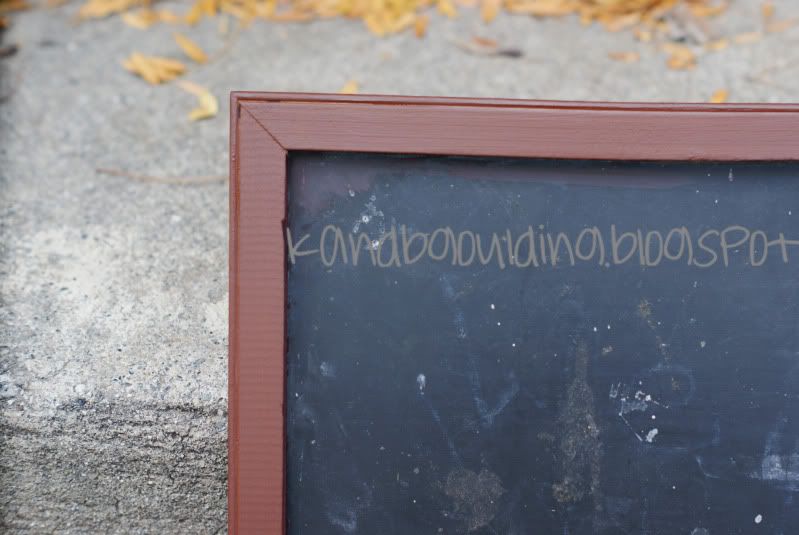
My mom found this chalkboard while we were organizing and set it aside for the kids to draw on. I didn't realize that until AFTER I redid it, but it turned out cute!
This was color of the wood before...

Anyway, so this was quite the exciting project when it came down to it. Why you ask? Because I messed up big time. I made my way to one of my favorite stores: Roberts. Ask my hubby, he says I'm there everyday (im not... really, well... maybe). I had the perfect paint color in my mind and went to the browns to pick it out. I had found it! A nice dark mocha like brown. The name of the color was Burnt Carmine. I had no idea what carmine is, but it sounds brown right? Nope. Carmine is a deep red! So what does "Burnt Carmine" mean? PURPLE!

Not the color I had planned.
This is the bottle and how it deceived me...
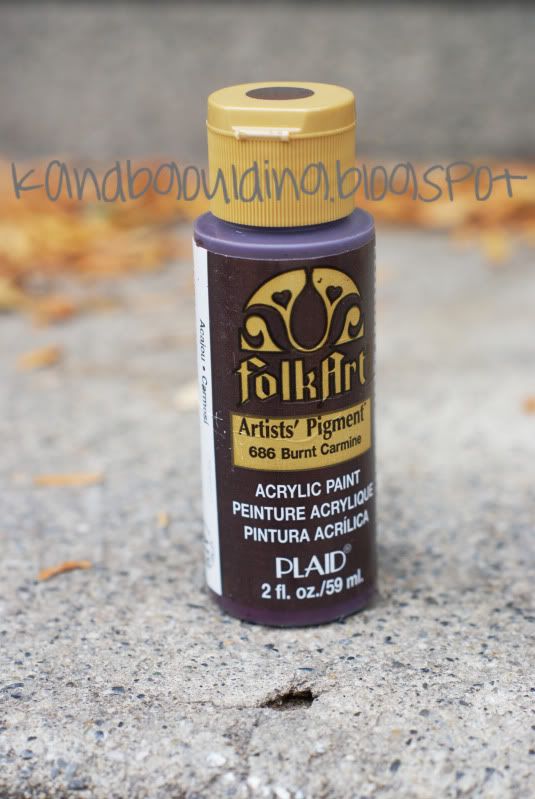
Doesnt that look BROWN?!?
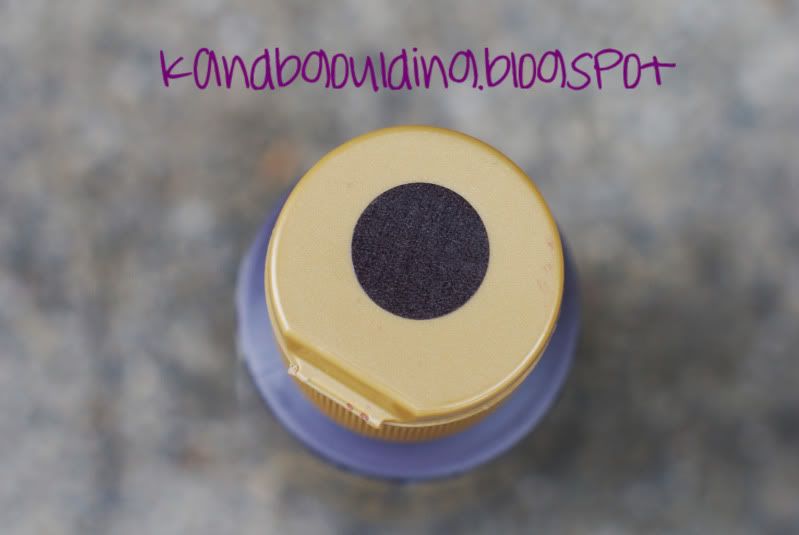
The lighting in the store was oh so deceiving. So I took a medium brown, mixed it with this color and ended up with this:
 \
\
I thought it turned out cute.
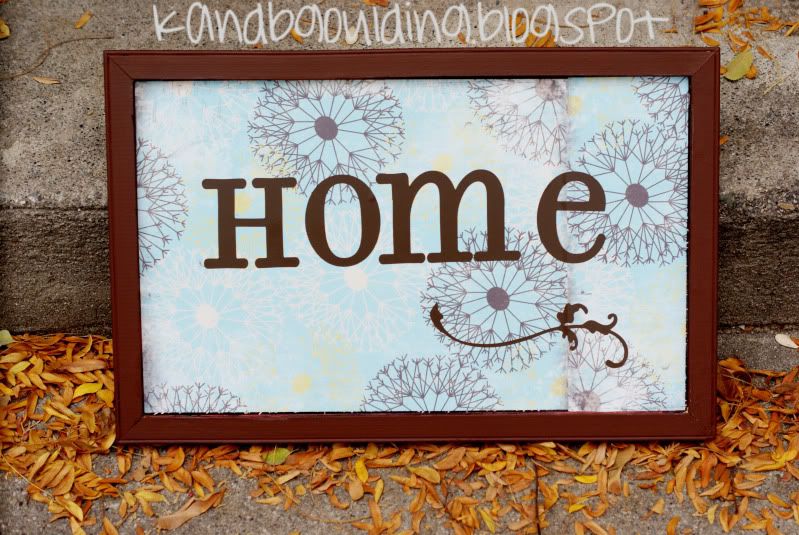
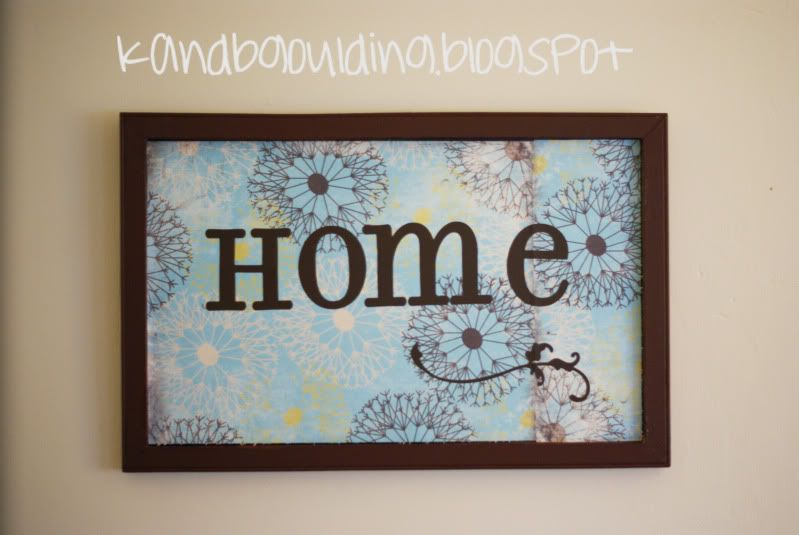
Posted by Kelden at 10:17 AM 0 comments
Labels: home decor, mod podge


